How to send emails from a form in React (EmailJS)
Intro
This post will guide you through the process of creating a form and functionality in ReactJS (with hooks) that will enable us to send emails. We will use a third-party service called EmailJS.
EmailJS in a nutshell
Send emails using client-side technologies only. No server required.
- Pick one of the supported email services
- Create an email template
- Use JS library to trigger an email
Setup EmailJS
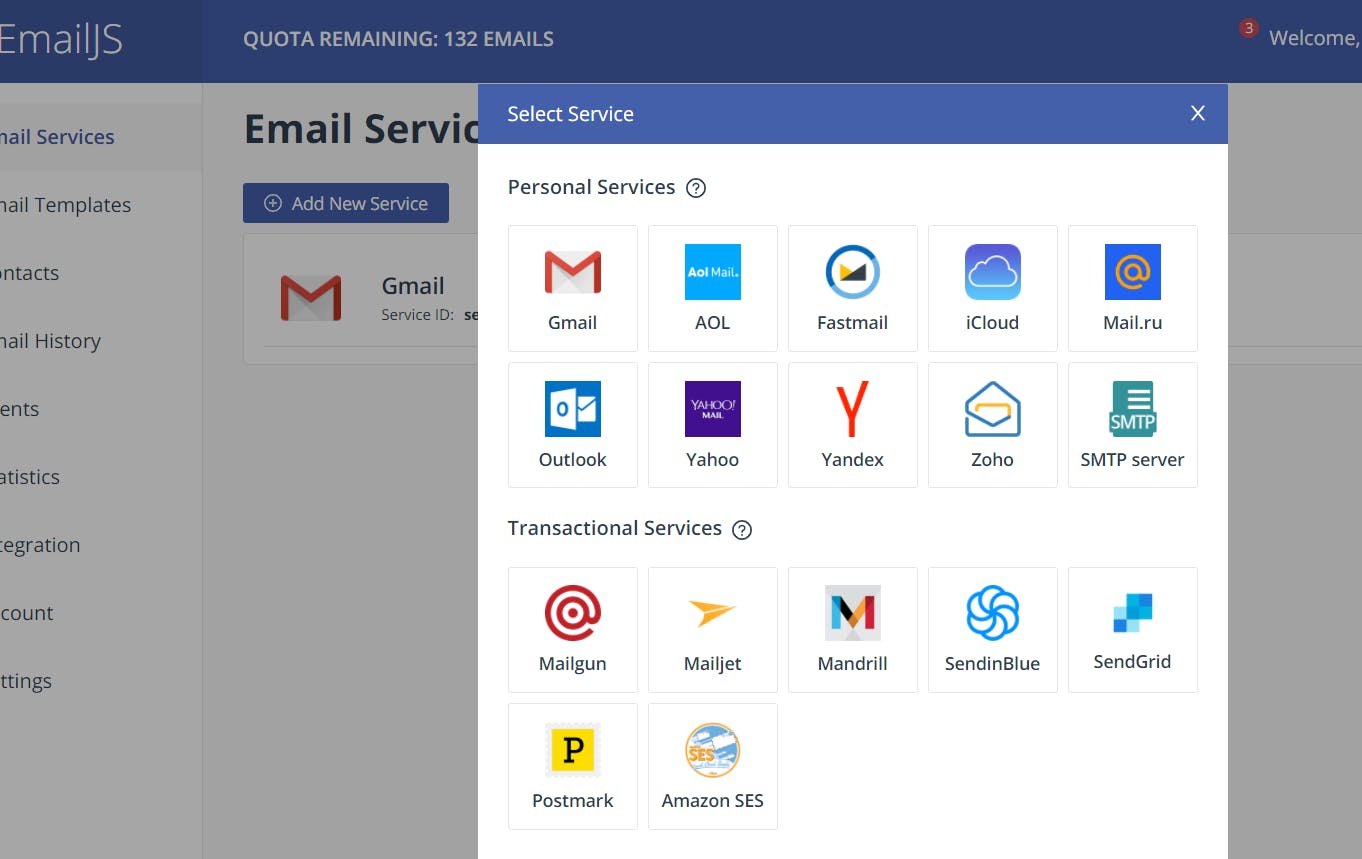
Let's first create a free account. Now, we'll do step 1. from the intro: we will pick Gmail as our email service.
 On 'Email Services' tab. After clicking on the 'Add New Service' button you should be seeing something similar to the photo above. Click on Gmail (this is what we'll use in this case).
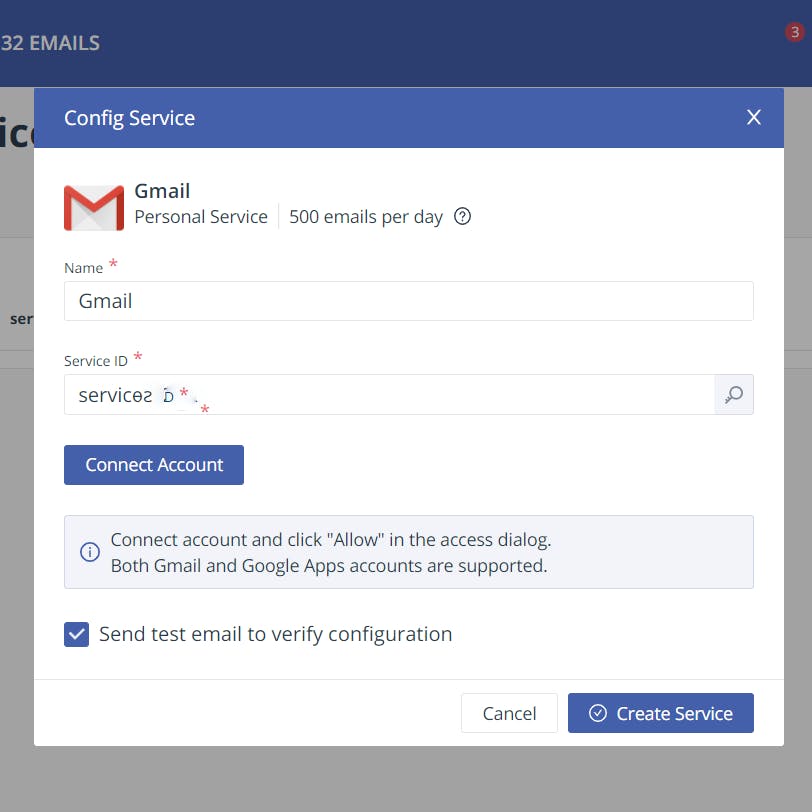
 To connect the service with your Gmail account click on the 'Connect Account' button. Also, remember your Service ID because we'll need it later. Finally, click on the 'Create Service' and check your inbox to see if you got the test email.
Got it? Awesome!
In the intro Step 2. says create a template. Let's do that now. Go to the 'Email Template' tab on the side menu and click on the 'Create New Template' button. For testing purposes, we will use this default one. A caveat, the variables in double curly brackets are dynamic variables that will be replaced with the data we'll provide in the method emailjs.send, in our case, in React. Click 'Save' and we're good to proceed.
####Congrats, part one is done!🥳
##React I assume you know how to and have created a react app. If not, check this out.
Let's install emailjs package.
npm i emailjs-com
Now, we import it (grab the User ID).
import './App.css';
import { useState } from 'react';
import { send } from 'emailjs-com';

function App() {
  return (
    <div className="App">
      ...
    </div>
  );
}

export default App;
Now let's create our form inside div.App
<form onSubmit={onSubmit}>
  <input
    type='text'
    name='from_name'
    placeholder='from name'
    value={toSend.from_name}
    onChange={handleChange}
  />
  <input
    type='text'
    name='to_name'
    placeholder='to name'
    value={toSend.to_name}
    onChange={handleChange}
  />
  <input
    type='text'
    name='message'
    placeholder='Your message'
    value={toSend.message}
    onChange={handleChange}
  />
  <input
    type='text'
    name='reply_to'
    placeholder='Your email'
    value={toSend.reply_to}
    onChange={handleChange}
  />
  <button type='submit'>Submit<button/>
</form>
Awesome, let's continue. Now, your App component should look like this now:
...

function App() {
  const [toSend, setToSend] = useState({
    from_name: '',
    to_name: '',
    message: '',
    reply_to: '',
  });

  const onSubmit = (e) => {
    e.preventDefault();
    {/* --- METHOD TO SEND THE MAIL --- */}
  };

  const handleChange = (e) => {
    setToSend({ ...toSend, [e.target.name]: e.target.value });
  };

  return (
    <div className='App'>
      {/* --- FORM --- */}
    </div>
  );
}
export default App;
You see, we used useState() Hook that lets you add React state to function components. We initialized the state with the 'toSend' object with the same instance names as the dynamic ones we have in the emailjs template. We also created two methods are for manipulating form data. handleChange to update the state, and onSubmit to handle the submission; to send data via emailjs.send method that we'll implement right away.
This is how onSubmit should look like:
const onSubmit = (e) => {
    e.preventDefault();
    send(
      'SERVICE ID',
      'TEMPLATE ID',
      toSend,
      'User ID'
    )
      .then((response) => {
        console.log('SUCCESS!', response.status, response.text);
      })
      .catch((err) => {
        console.log('FAILED...', err);
      });
  };
Please add your unique IDs required in the send method that you can find on emailjs dashboard.
Okay, here goes nothing...
Run that app (npm start).
Fill the form and click submit.
Check your Gmail inbox.
Got it?
CONGRATS! You rock! 🥳🎊
I hope you find my first post useful! Any feedback is greatly appreciated!
Thank You! Dalibor
